
Seems like everybody likes the look and durability of wood floors these days. With so many choices available from classic hardwood to engineered woods to laminates and even tile that looks like wood, it’s both abundant and pretty pocketbook friendly. The cost for pro installation though, well, that’s a bit much for me so when it came time to replace our tired carpet I gave it a shot myself. I found it’s a little tough on the knees but definitely not technically difficult. And, if I can do it – you can too. Here’s how in just a few steps:
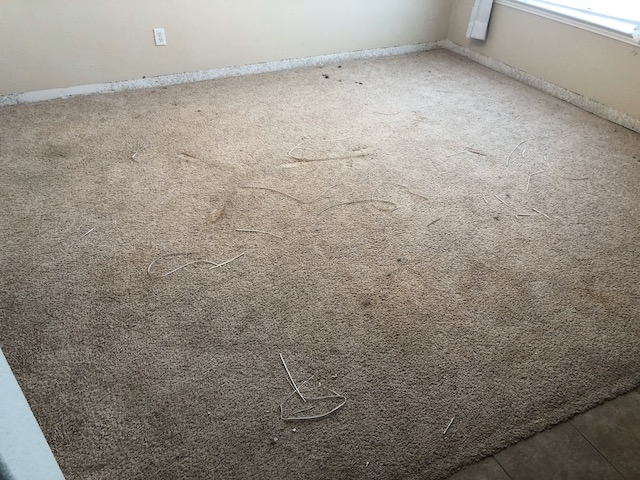
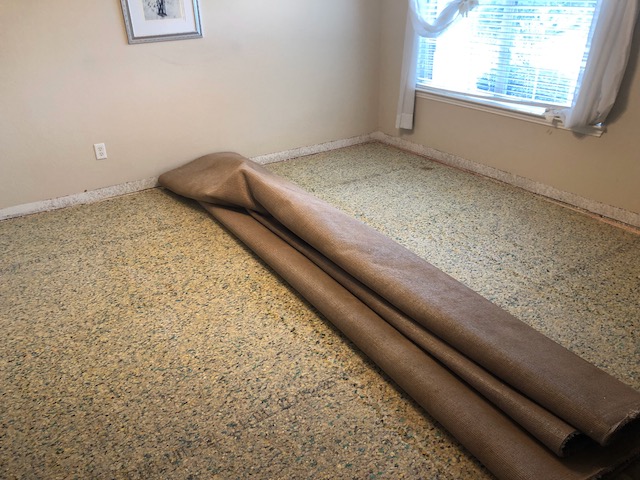
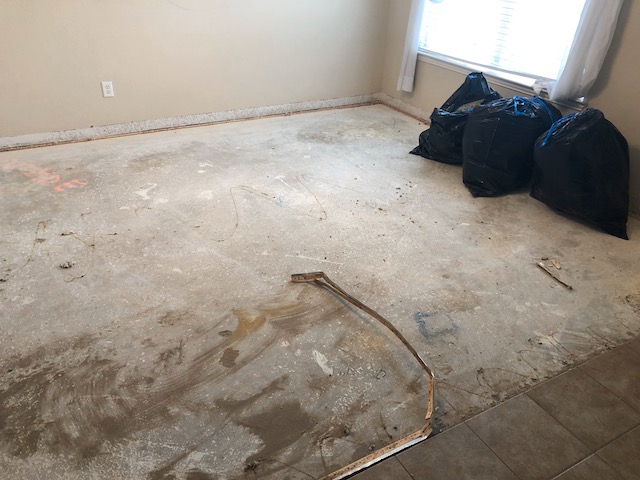
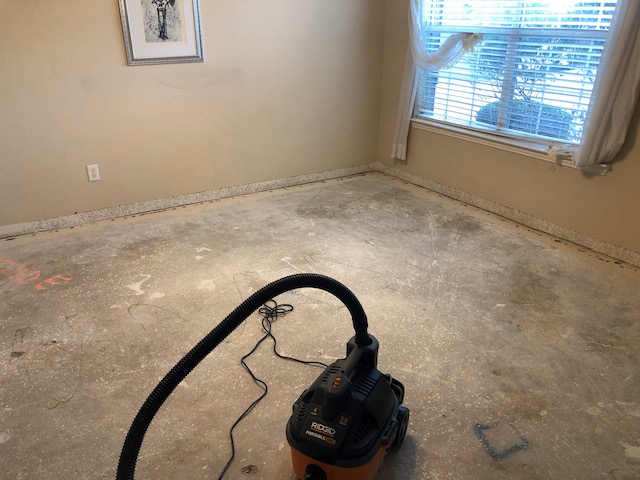
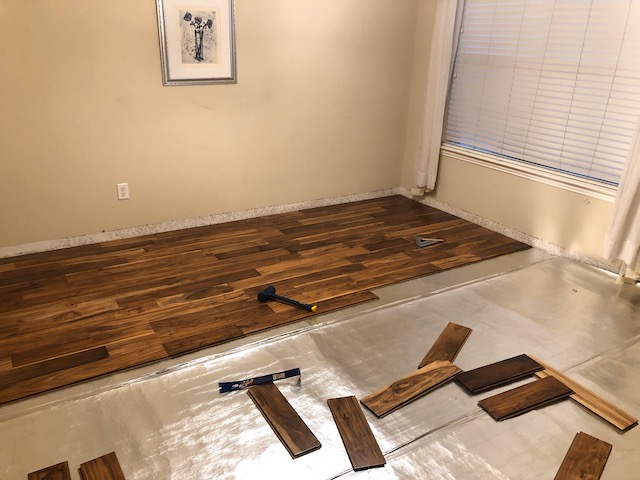
First: Pull the baseboards and then your old flooring (carpet in this case). You can possibly reuse your baseboards but, I found that more trouble than worth cutting in fresh ones at the finish. Pull your tack strips (if you’re dealing with carpet too), pull out any remaining tack nails or baseboard brads, vacuum up any debris and scrape unwanted adhesive from your subfloor.
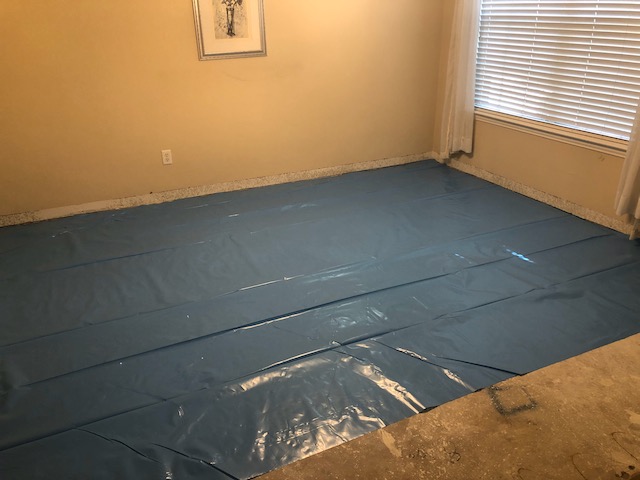
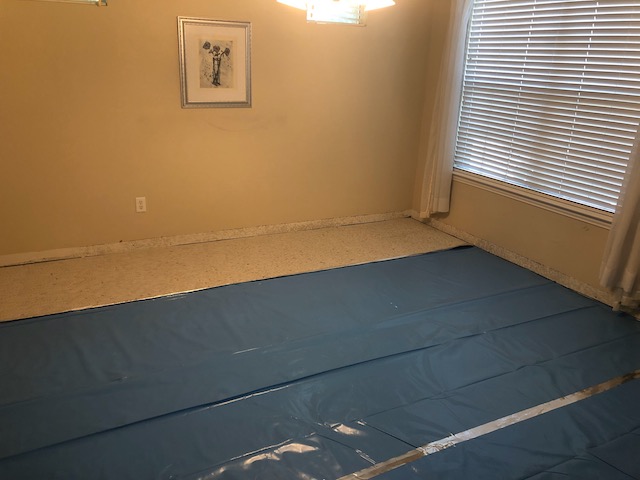
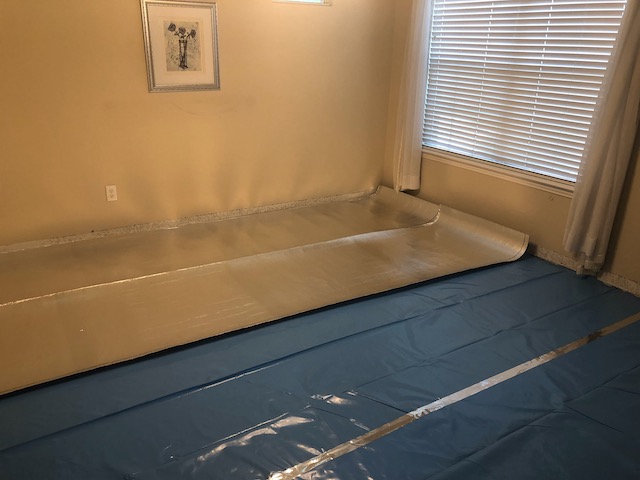
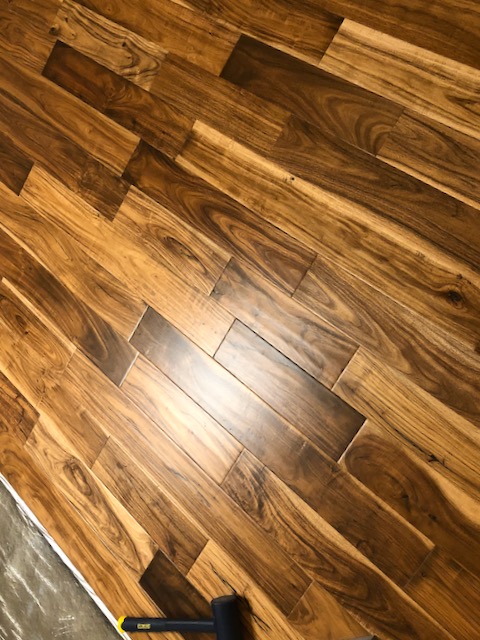
Second: Put down and trim both vapor barrier and underlayment (to keep your material in good shape and to dampen floor noise), then establish your layout (pro tip – measure and equalize your board width on the start and finish sides of your room), start square and lay the new flooring mixing board selections from several different boxes to avoid color patches while varying your board length as you go (this will make for a stronger floor).

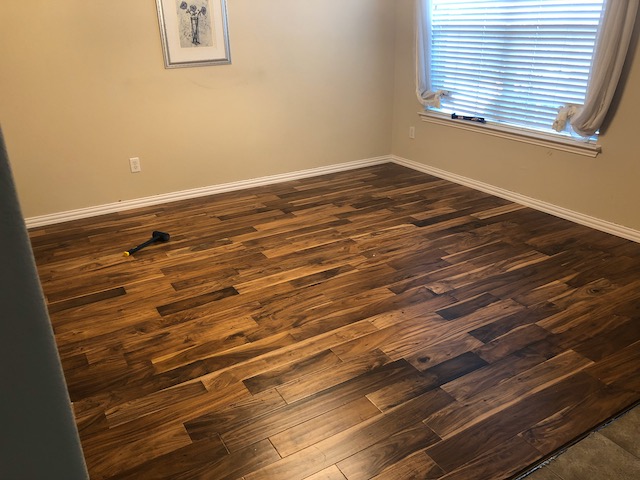
Third: Cut and install your new baseboards and transition pieces (if you are transitioning across flooring mediums like wood to tile). Fill and paint your baseboards and – that’s pretty much it! Congratulations – nice floor!
This post isn’t meant to be an exhaustive ‘how to’ (there are plenty of those out there – and I recommend them to reference for your specific material choice, sub floor type, etc.) – it IS meant to just let y’all know that this isn’t a really hard job to do, and do well, yourself with some very basic tools.
Go build something! You can.